BSN.Cloud - BrightSign
Overview
Authorization with BSN.Cloud requires creation of an Application inside the BrightSign cloud account.
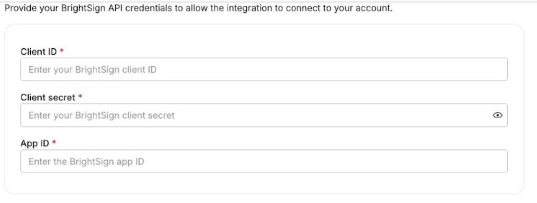
After creating a Connector on the Xyte side, during the Authorization stage the following information will be required:
API Access Requirements
To use the BrightSign cloud API with Xyte, make sure you have:
- Required account / tenant: BSN.Cloud account
- Required access: Access to the required BSN.Cloud capabilities
- Required plan / license: Some capabilities are free under bsn.Control; others require a paid bsn.Content subscription
- Where to verify: BSN.Cloud tiers page
Setting up BSN.Cloud
-
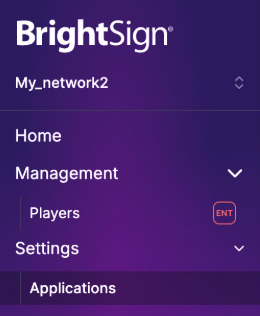
Login to your account.
-
Select the Network to connect.
-
Go to "Settings->Applications"
-
Click "Add Application"
-
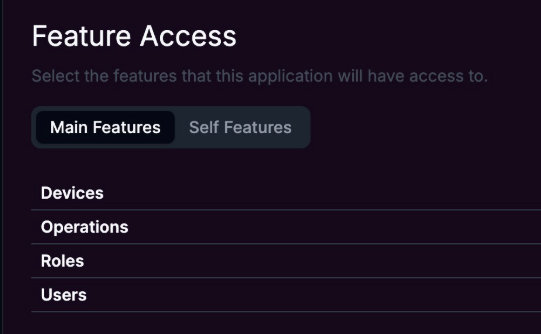
Enable the required features for integration to work:
-
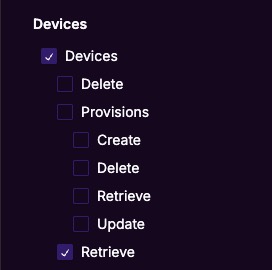
Main Features Tab:
- Devices -> Retrieve
-
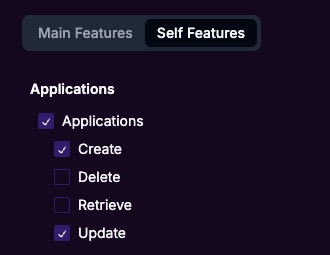
Self Features Tab:
-
Applications -> Create
-
Applications -> Update
-
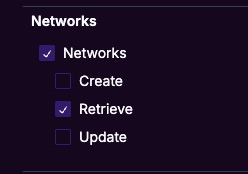
Networks -> Retrieve
-
-
-
Click Save
-
Copy the "Client ID", "Client Secret" of the new application to the Xyte Connector setup form.
-
Copy the "App ID" from the URL of the BSN.Cloud tab
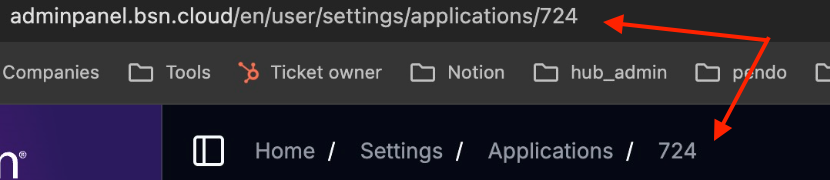
- E.g. if the URL is: https://adminpanel.bsn.cloud/en/user/settings/applications/724
- The App ID is "724"
- Copy the App ID to the Xyte Connector setup form.
Additional information
Connector root space name: Bright_sign_v2
If deleted and re-added:
Deleting this connector will remove all imported devices and their data. This action cannot be undone.
- A new connector will be created upon re-adding.
- If the name
Bright_sign_v2already exists, the new connector will be namedBright_sign_v2 1. - The device tree will be re-imported under the new connector.
- The tree hierarchy will not be deleted.
Related troubleshooting
Having trouble with this connector?
Open the BrightSign troubleshooting guideUpdated about 2 months ago