Tickets
Create, review and manage tickets.
Tickets are used to send support requests to your MSP or device manufacturer and can be created either directly on a device or by escalating incidents. Creating tickets allows the MSP/manufacturer to remotely access and resolve issues on your devices. The Tickets section of the portal allows you to keep track of and manage tickets in the system.
WarningCreating a ticket allows the managed service provider/manufacturer full access to this device. They will be able to access device information and perform commands on the device (reboot, firmware upgrade, etc.).
How to create a ticket
There are two ways to create a ticket: at the device level or by escalating an incident.
Creating a ticket at the device level
- Navigate to the details screen for the device that has the issue. You can do this via the Devices screen (accessible from the left-hand menu), a widget on the dashboard in the Organization Overview screen, or any other area of the portal that has a link to the device.
- Click the Support button.
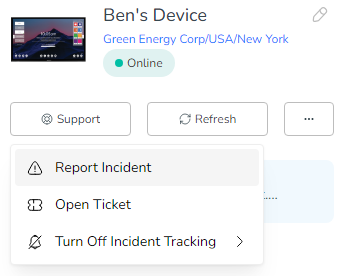
- Select the Open Ticket option to open the Request device support window, which includes an image of the device, its name, the manufacturer who will receive the ticket, and fields to provide details on the issue to resolve.
- Provide a title and description for the ticket. Be as detailed as possible to allow faster resolution.
- Click Escalate.
The manufacturer will be notified of the creation of the ticket.
Escalating an incident
Incidents are used to flag issues with devices. If you are unable to close an incident and your manufacturer offers remote support, the incident can be escalated to a ticket, which the manufacturer will then address and resolve.
These are the steps to escalate an incident:
- An incident needs to be created before it can be escalated in the form of a ticket to the manufacturer. See How to report an incident for details on creating an incident.
- Open the incident by navigating to Incidents in the left-hand menu and selecting it from the list, or via the Incidents widget on the Organization Overview dashboard.
- Click the red Escalate button to open the Request device support window.
- Provide a title and description for the ticket.
- Click Escalate.
What happens after a ticket is created?
After a ticket is created:
- The manufacturer will be notified.
- The manufacturer’s support personnel will diagnose the issue and correct it or request more details via chat.
- Once the support staff believes the problem has been solved, they will mark the ticket as Solved.
- The customer can then review this decision and choose whether to mark the ticket as Resolved or Not Resolved. If the issue is not resolved, the customer can provide additional details to the support staff to enable them to continue their investigation.
Managing tickets
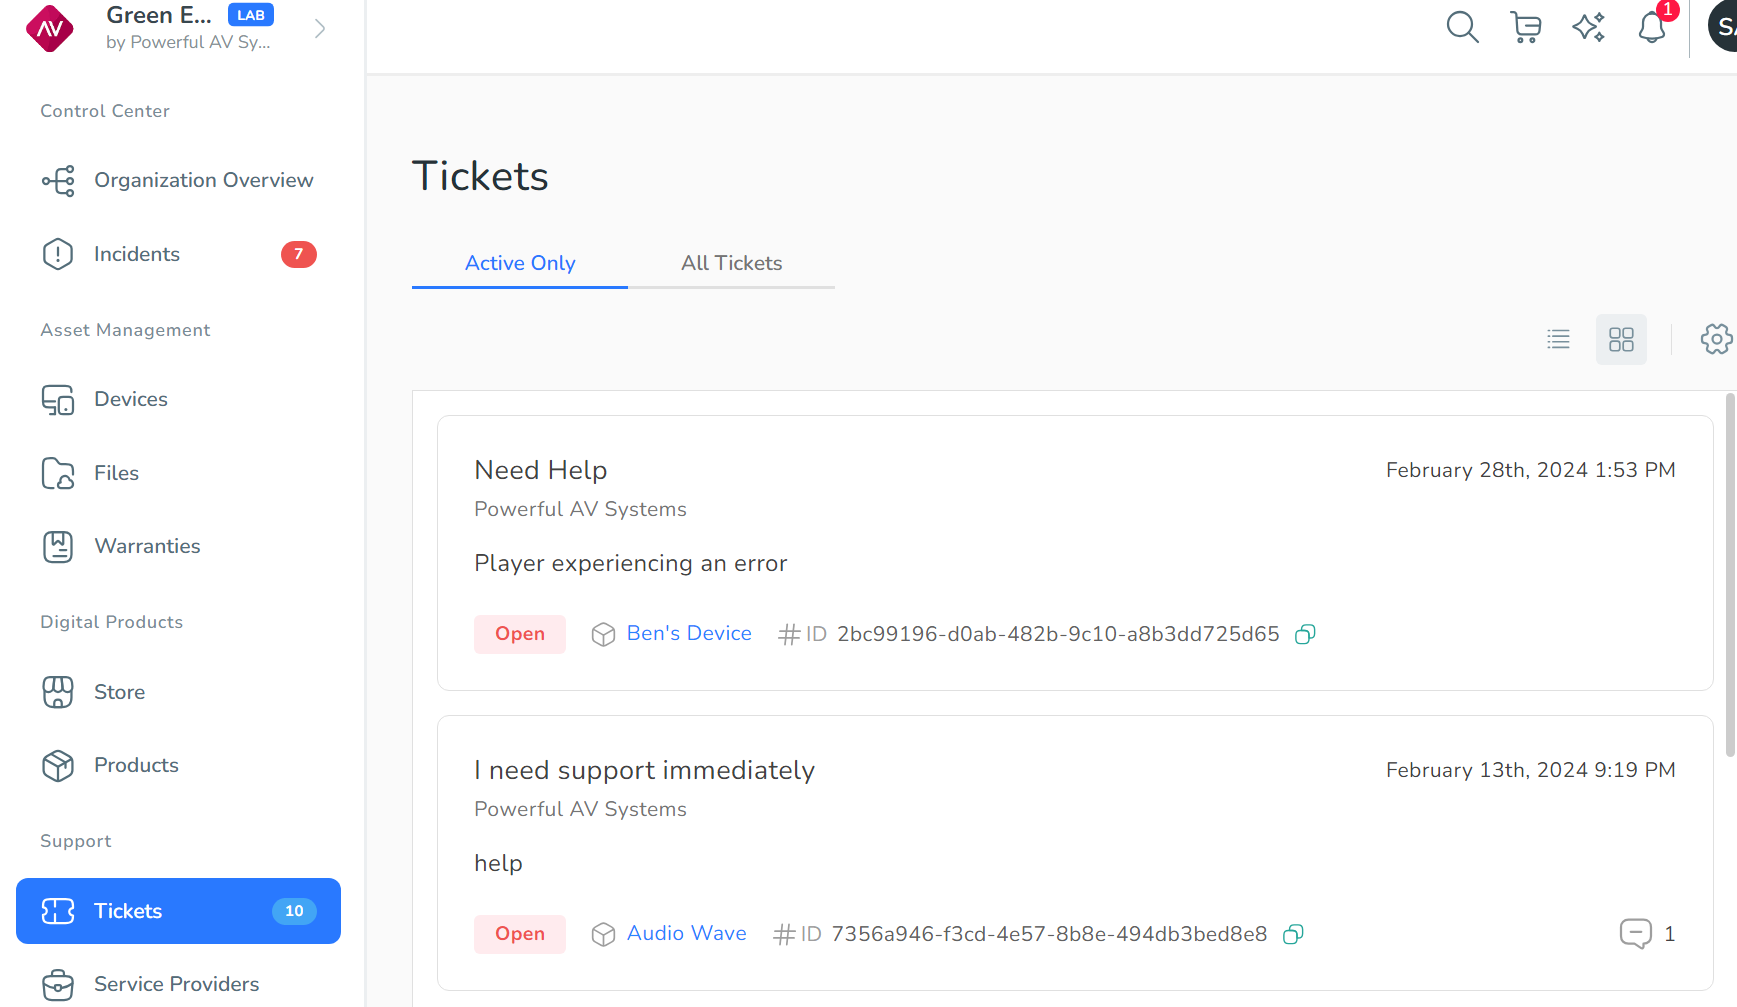
Navigate to Tickets in the left-hand menu to view the tickets in your organization.
The settings cog in the top-right corner of the screen lets you customize the columns displayed. Make sure the columns that you want to be visible are checked in the Customize Columns list. Be aware when doing this, however, that your selection will be visible to all users.
You have various options on the Tickets screen. You can:
- Choose whether to display Active Only tickets or All Tickets.
- Choose to display tickets in Tile View or List View. The following information will be shown for each ticket: its title, its description, its status, the device that has the issue, its ID, and the date and time at which the ticket was created (hidden by the left-hand panel in the image above).
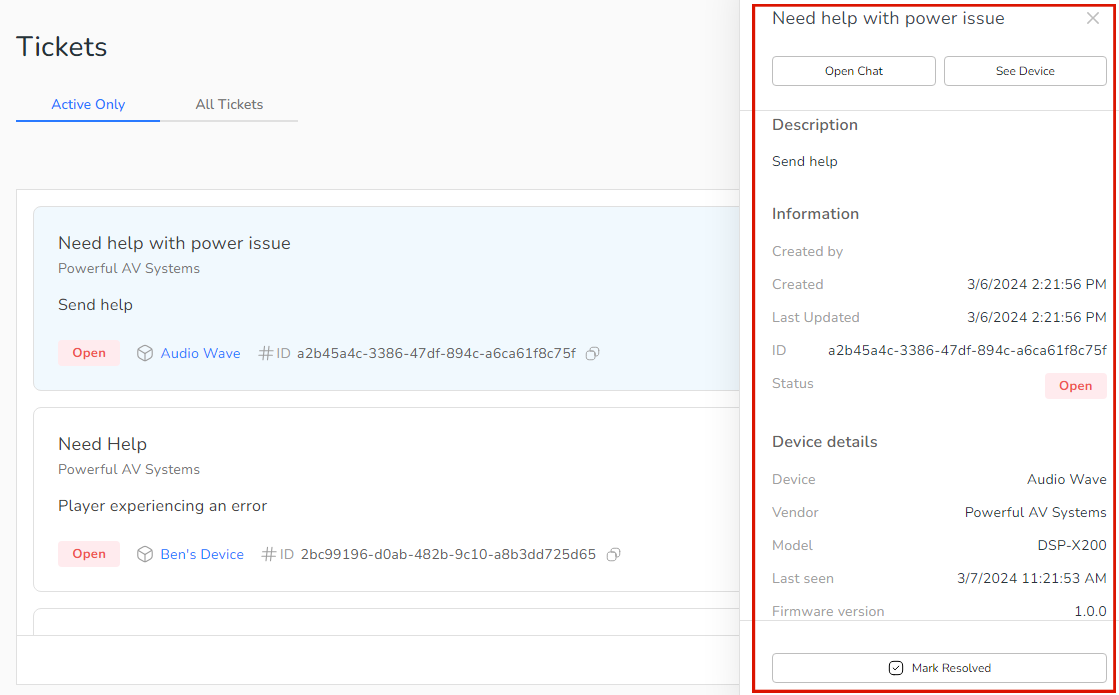
- Click a ticket to display a popup that contains additional information about the ticket.
In the popup window, you can:
- View detailed information about the ticket and the device it relates to.
- Click Open Chat to open an online chat session to message the manufacturer (note that this is not a live chat).
- Click See Device to navigate to the device’s details screen.
- Mark the ticket as Resolved or Not Resolved (if it’s in the review state).
Updated 9 months ago