Assign permissions to an internal user
How to assign permissions to an external user.
You can assign permissions to a user, granting them access to one or more spaces in your organization, in two ways:
- Assign the user to a group. The user will automatically inherit the permissions granted to the group.
You can assign a user to a group when you add them, as discussed above (see Adding a user to an organization), or via the Groups tab (see Adding a user to a group below). - Manually assign permissions to the user.
To manually assign permissions to a user by adding them to a space, follow these steps:
- Navigate to Organization Overview in the left-hand menu.
- Select the space where you want to grant the user access permissions.
- Click the ellipsis (...) in the top-right corner of the dashboard and select Settings.
- Select Access in the menu on the left.
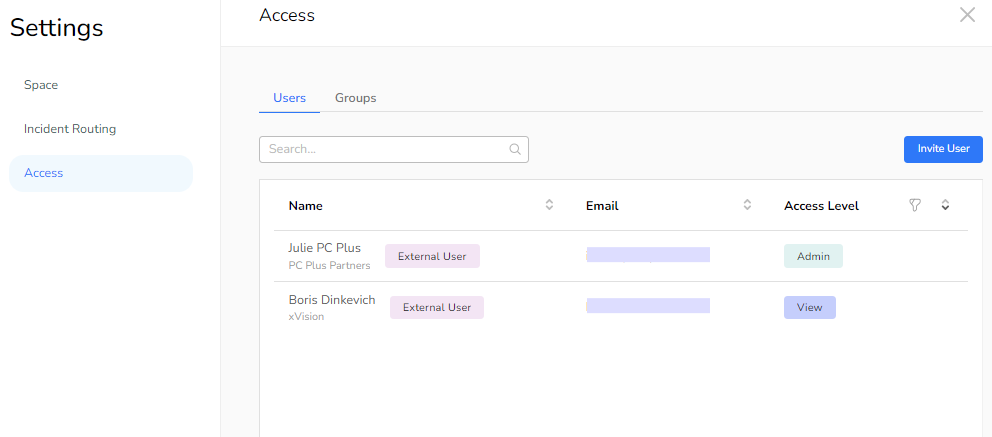
- To add a user:
- On the Users tab, click the Invite User button.
- Choose Internal Users.
- In the Add Internal Access popup, select the user to whom you want to grant access.
- Select an access level for the user:
- View: The user will have only read permissions.
- Edit: The user will be able to interact with devices and spaces. For example, this level of access allows a user to send commands to devices, rename spaces, and move devices around.
- Admin: The user will have full permissions within the branch they are assigned to.
- Click Add User.
When the user logs in, they will see only the spaces they have access to (as well as their subspaces, if any).
Updated 3 months ago
What’s Next
Did this page help you?