
Store
Browse and shop for devices.
The Store is where your organization buys products from vendors: device licenses, warranties, subscriptions, physical products and more. You find it in the left-hand menu under Marketplace → Store. Everything you buy then shows up under Marketplace → Purchases.
- Anyone in your organization can browse the Store.
- Only administrators can buy. A non-admin who clicks Add to Cart is asked to send the product link to an admin (Copy product URL).
- The Store appears only once at least one vendor offers products to your organization.
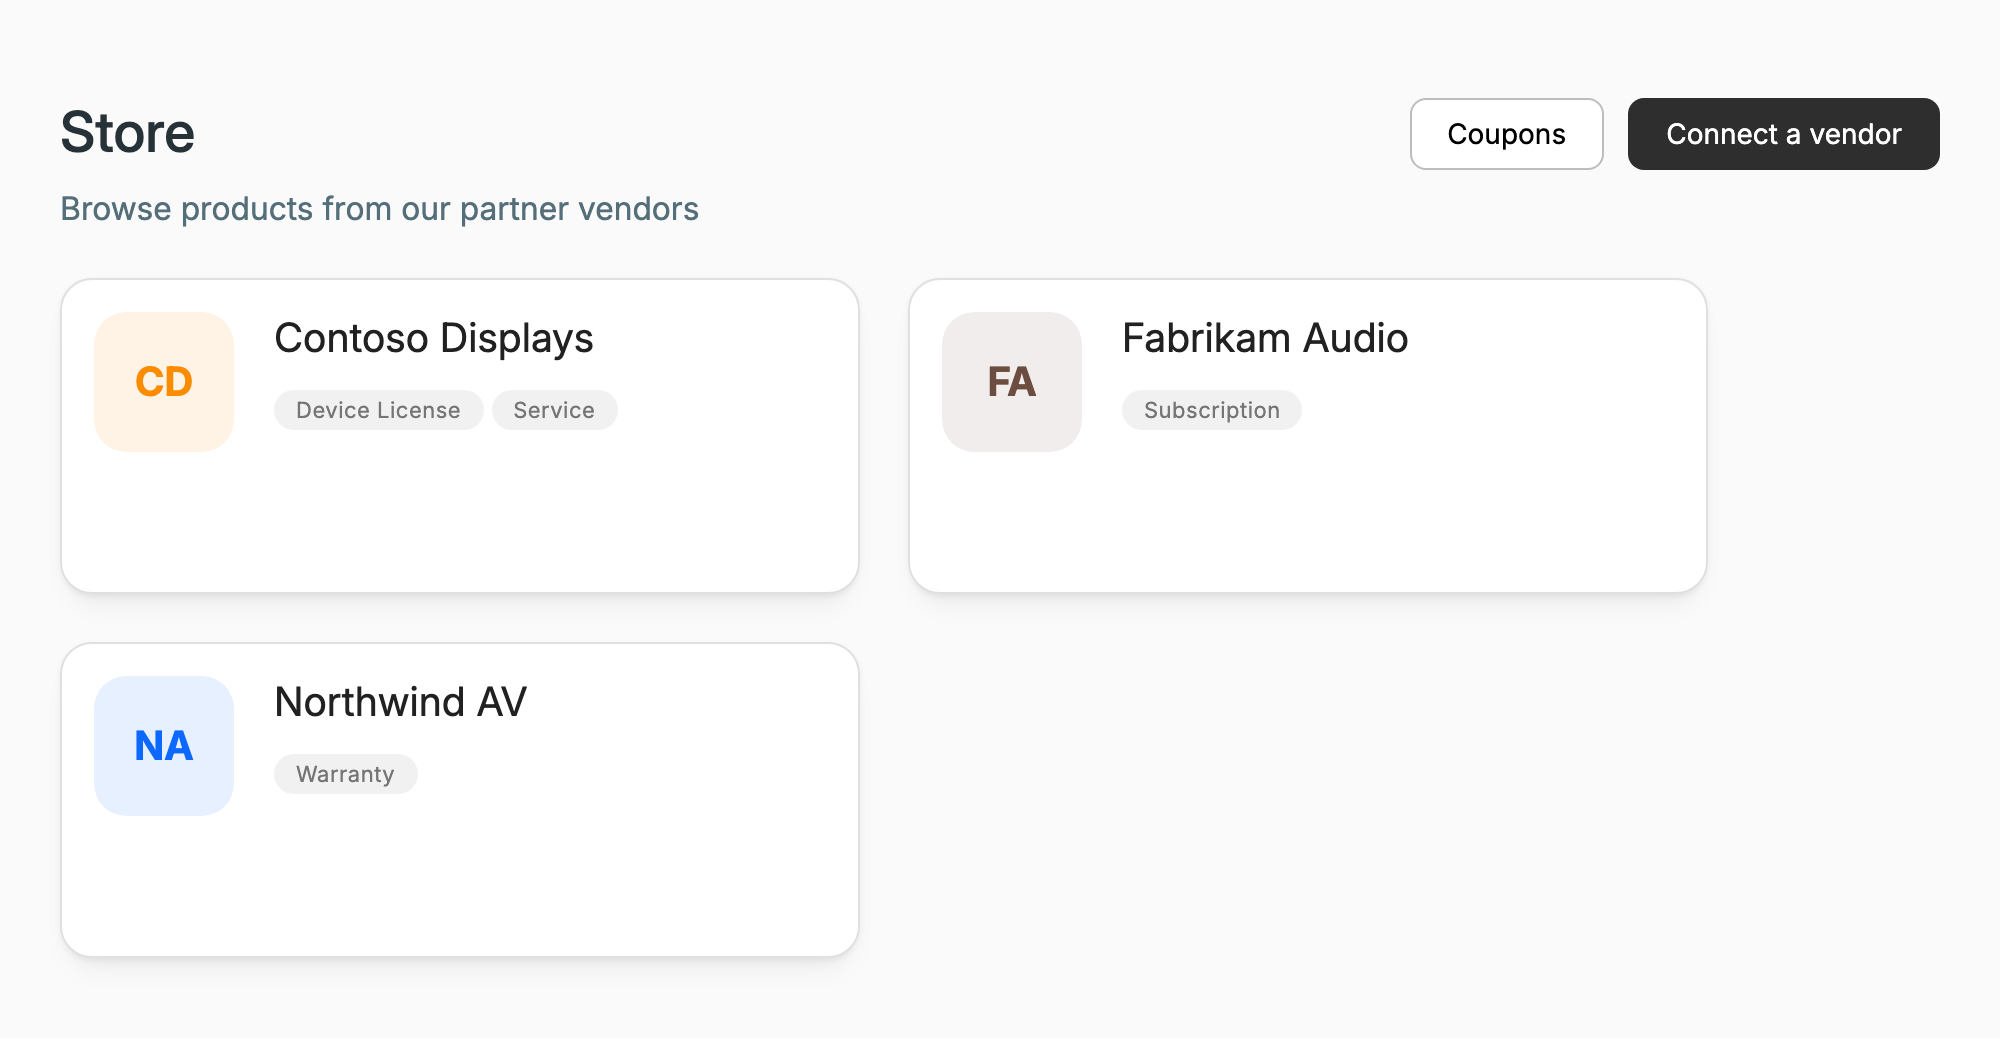
The Store landing page shows one card per vendor. Click a card to open that vendor's store.
Which vendors appear
A vendor appears when it has at least one product on sale and one of these is true:
- It's already available to you. Your provider's own store appears automatically. On Xyte Connect+, so does any vendor that opened its store to everyone on the platform.
- You added one of its devices (Xyte Connect+). On Connect+, claiming a device from a vendor also adds that vendor's store.
- You connected to it with a vendor code. Click Connect a vendor on the Store page, or go to Settings → Vendors → Connect a vendor (administrators only). Enter the Vendor code you got from the vendor.
- You entered one of its coupon codes. See the Coupons tab.
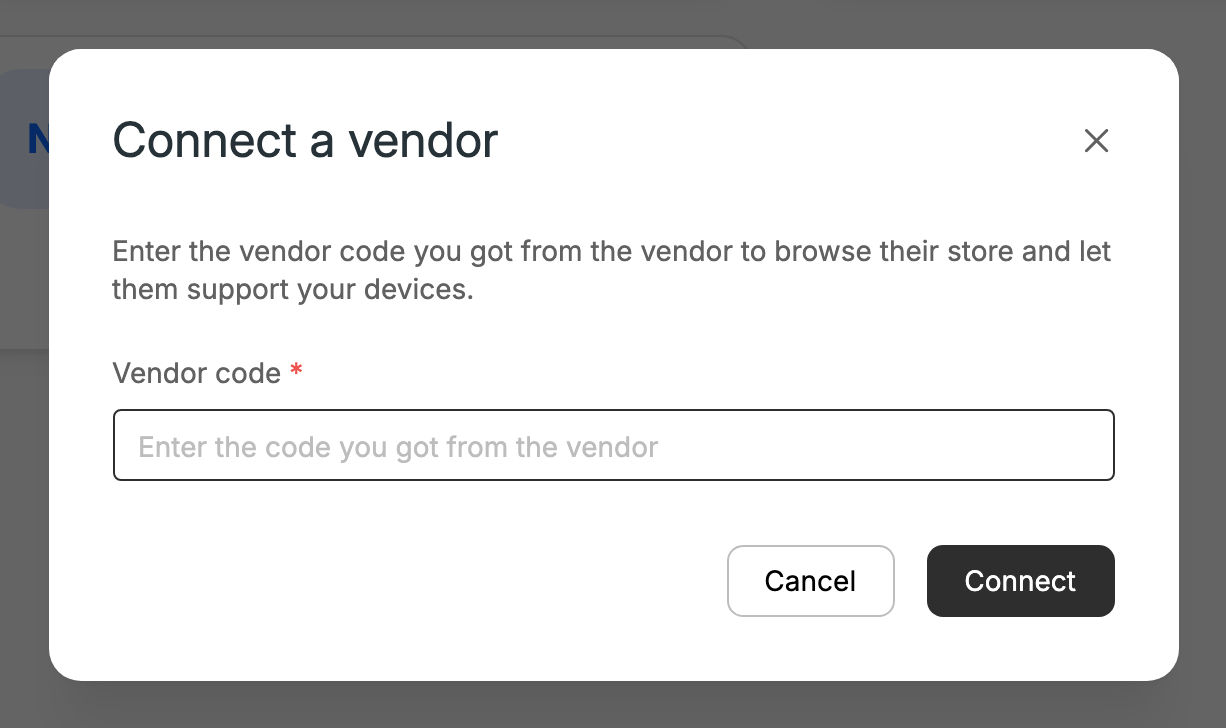
A connected vendor can also see and support your organization. To stop that, an administrator can go to Settings → Vendors and disconnect it. You then lose access to its store.
Sign-up links from a vendor
A vendor can invite you with a sign-up link. When you create your organization through that link, it's created under that vendor, so the vendor's store appears in your Store automatically. The vendor's team may also get access to your organization to help you set up and support your devices.
Reading the vendor cards
- The labels under a vendor's name (for example, Warranty or Device License) are its product categories, not a count of products.
- Two cards can show the same vendor name when that vendor runs more than one store, for example one for warranties and one for services and licenses.
- You may see different vendors than another organization does. It depends on your devices and the vendors you connected to.
1. Find the product
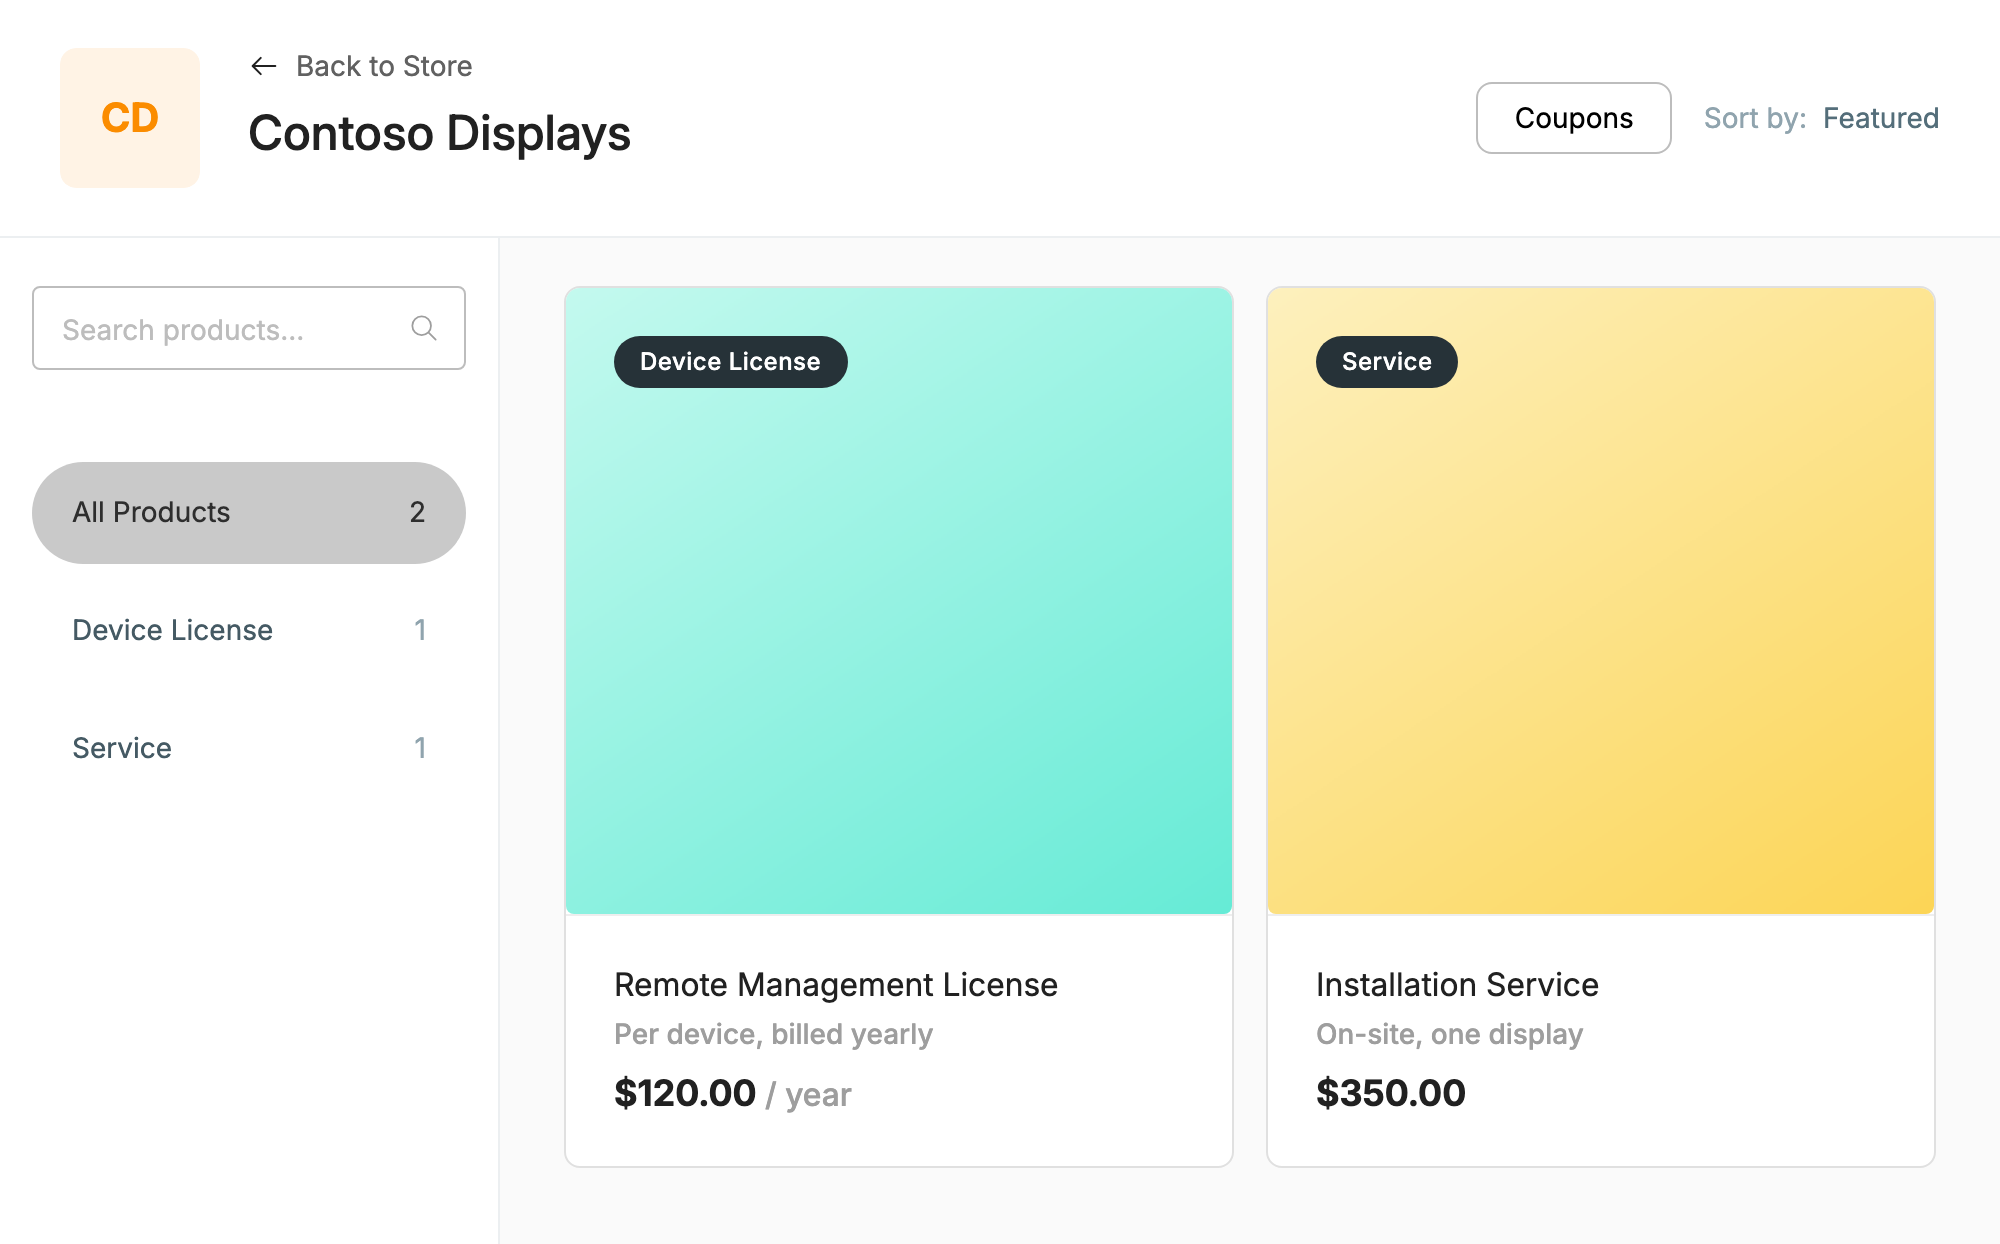
On a vendor's page you can:
- Search products by name.
- Sort by Featured, A-Z, Most Recent, Lowest Price or Highest Price.
- Filter by category in the menu on the left (for example, All Products, Warranty, Device License).
- Switch the currency, when the vendor sells in more than one.
2. Choose a price plan
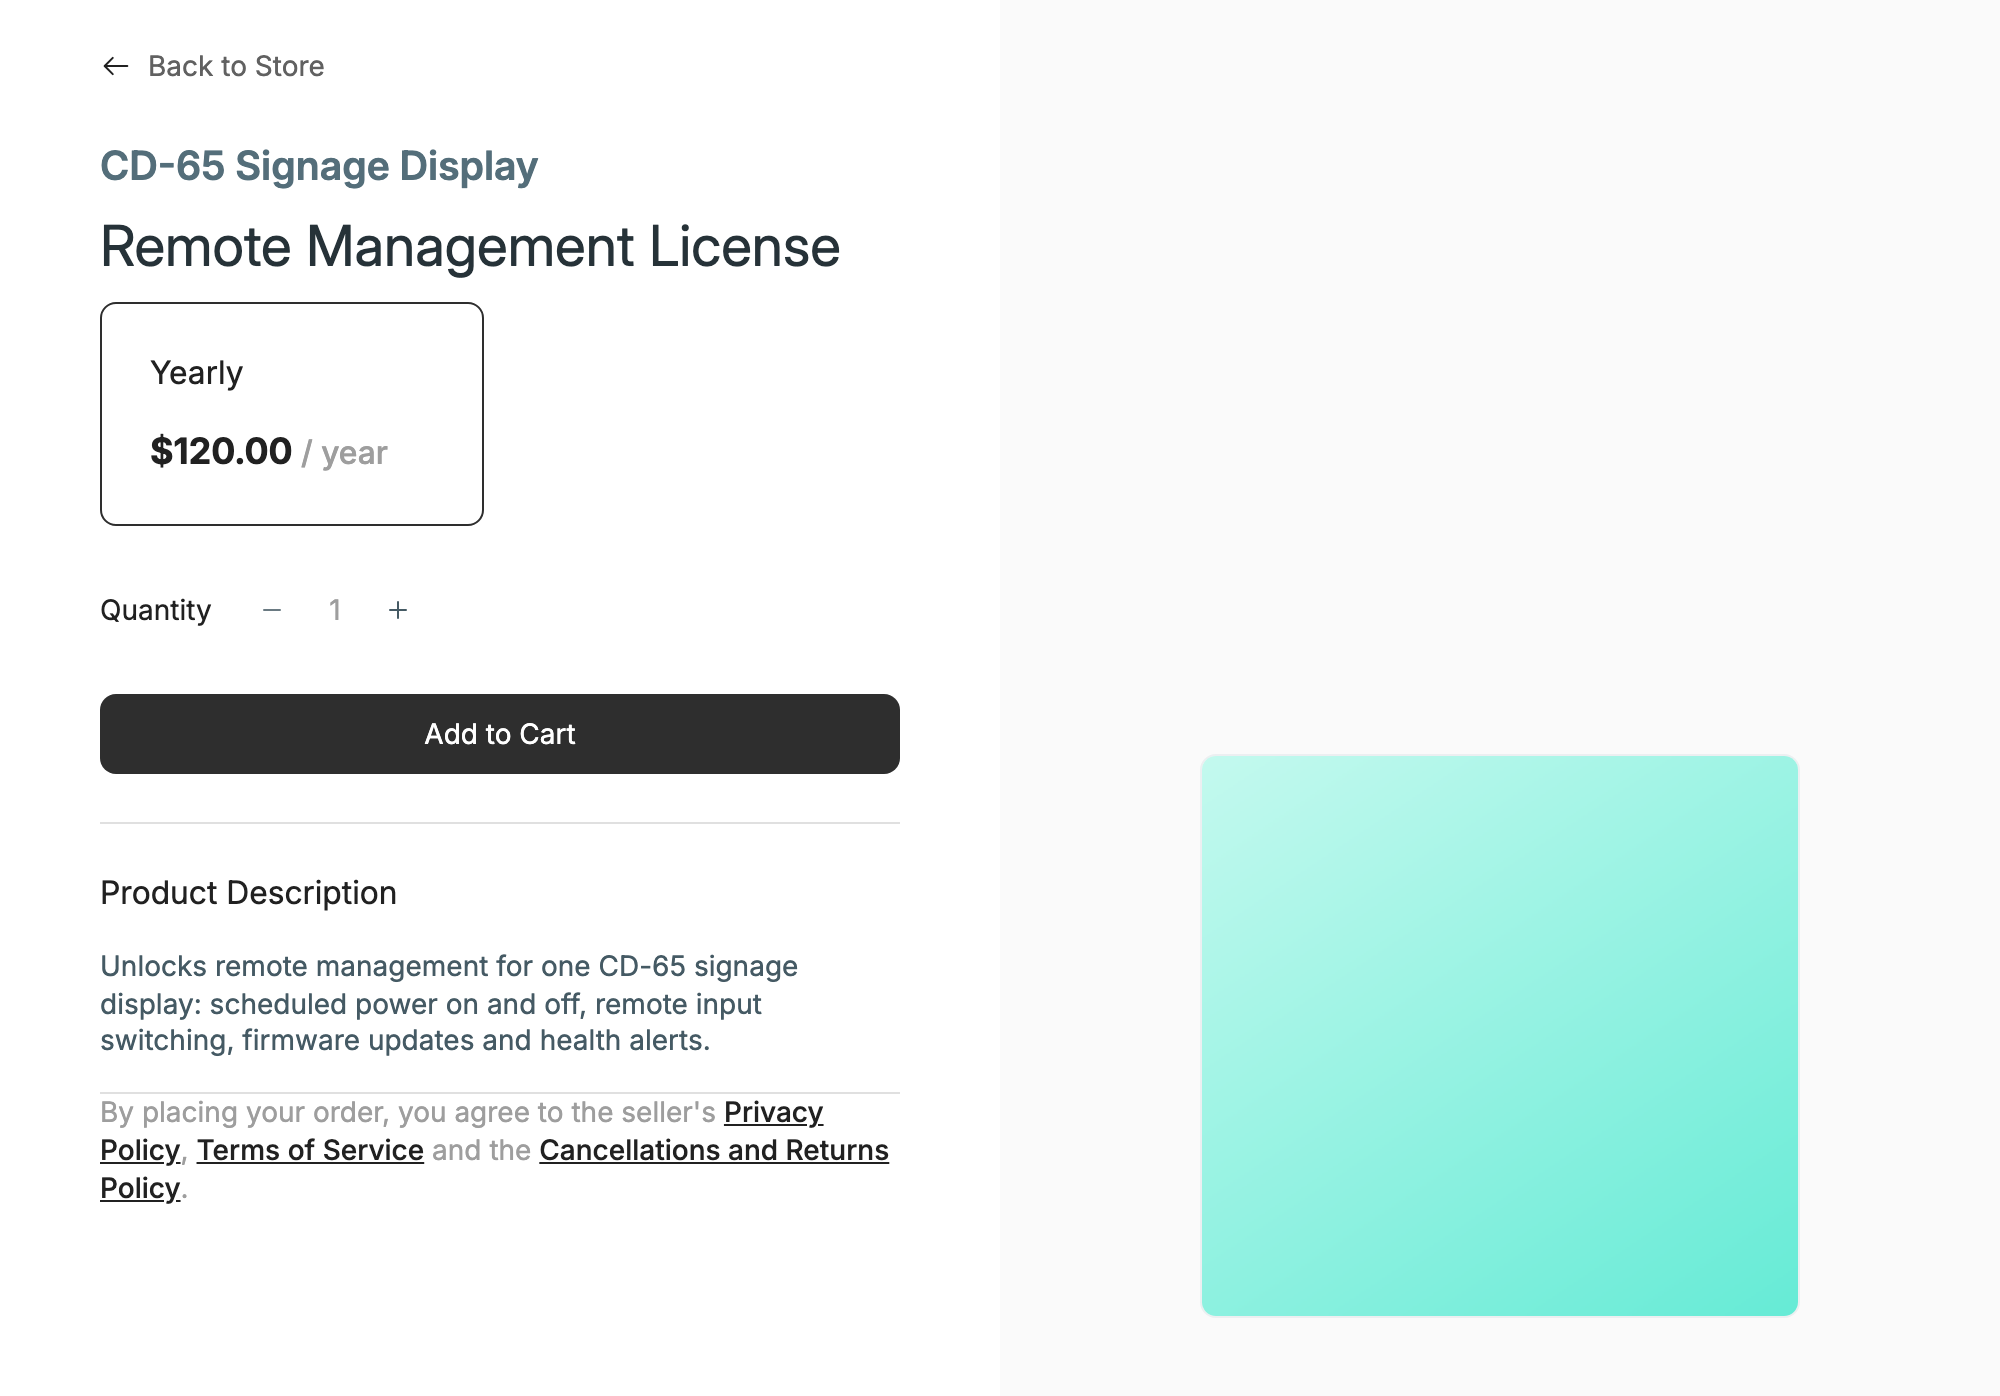
Open a product to see its description and its price plans:
- One Time: a single payment.
- Monthly or Yearly: a subscription that renews automatically.
- Usage-based plans: an optional base price plus a price per unit, billed monthly.
- A price set for you: some vendors send you a link to a product with a price set just for you. The price is filled in for you and can't be changed.
Platform licenses also list the Models & Commands they cover.
Choose a plan and a Quantity, then click Add to Cart.
3. Review your cart
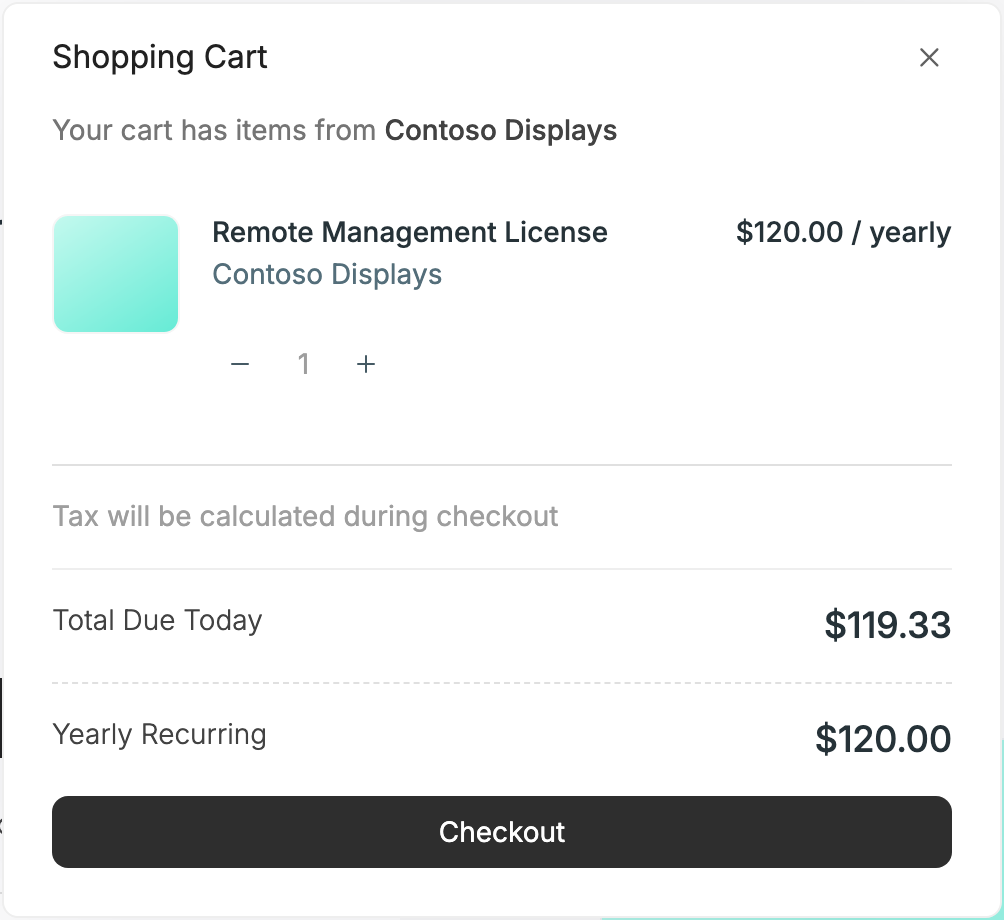
The cart opens under the cart icon at the top right. The icon's badge shows how many items are waiting. In the cart you can change quantities (0 removes an item) and see the Total Due Today. Tax is calculated at checkout.
A cart holds products from one vendor at a time. If you add a product from another vendor, you're asked to Start New Cart.
4. Check out
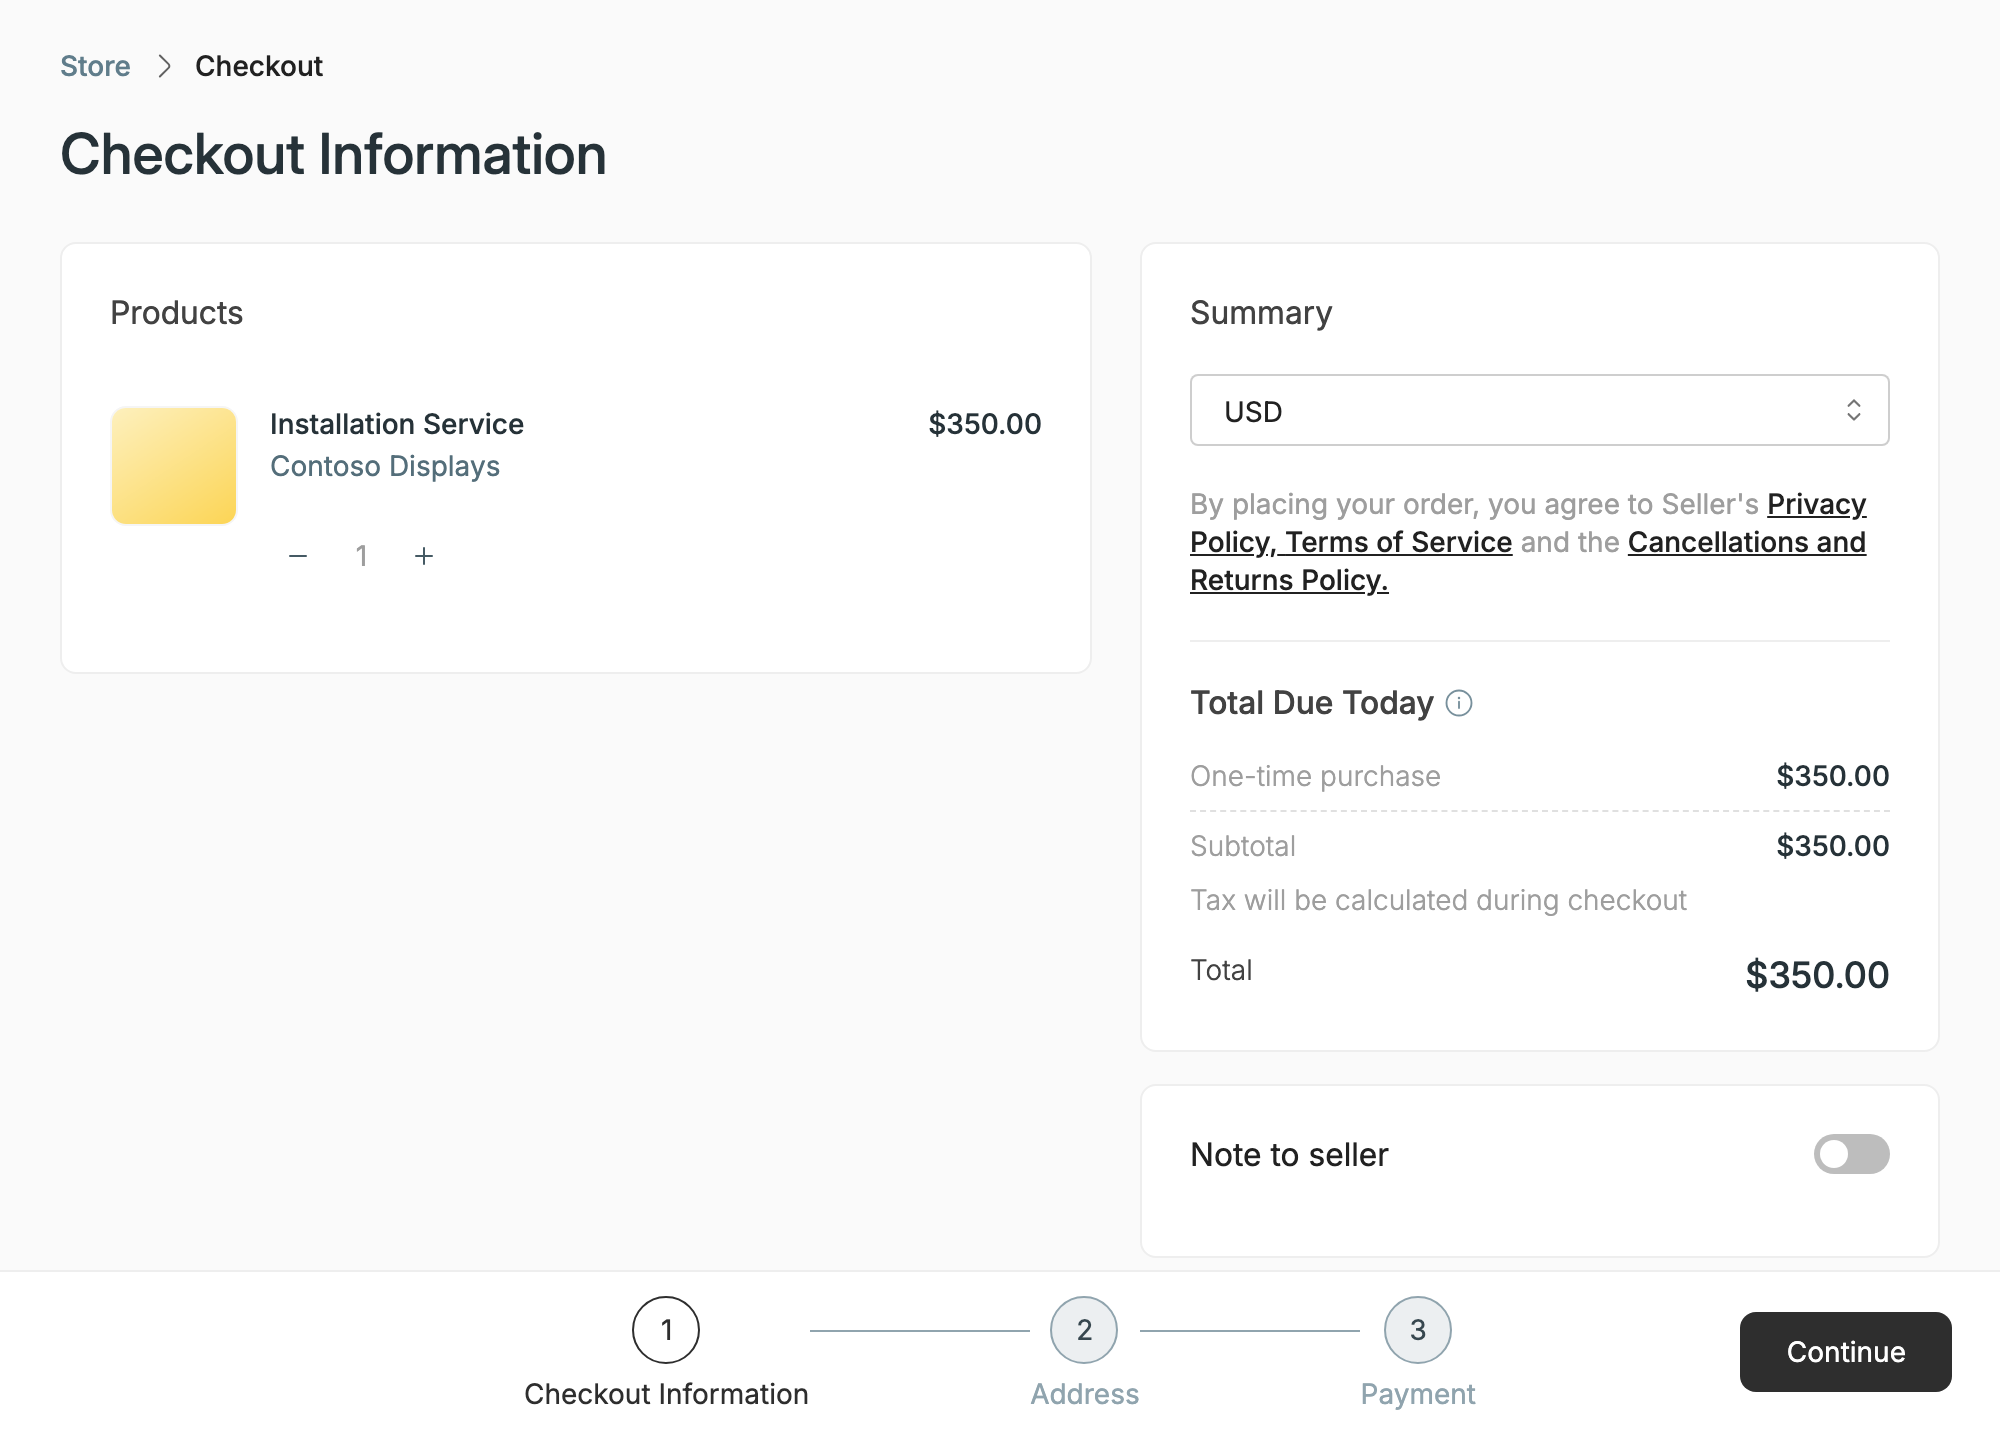
Click Checkout and go through the steps:
- Checkout Information: your products, the currency, and the totals: Total Due Today, plus Monthly Recurring or Yearly Recurring with the next charge date for subscriptions.
- Address: a Billing Address, and a Shipping Address if the order has physical products. Tick My shipping and billing address are the same to enter it once.
- Order Details: only when the vendor needs extra information for the order.
- Payment: pay by Credit Card, using a saved card or a new one. Then click Place Order.
You can add a Note to seller at any step.
When the order is placed, you see Order Placed and get a receipt by email. The order opens under Purchases. Some orders, warranties for example, wait for the vendor to approve them before the product becomes active.
A device license unlocks premium features and commands on a device.
Buy a license
- From the Store: buy it like any other product (see Buy a product).
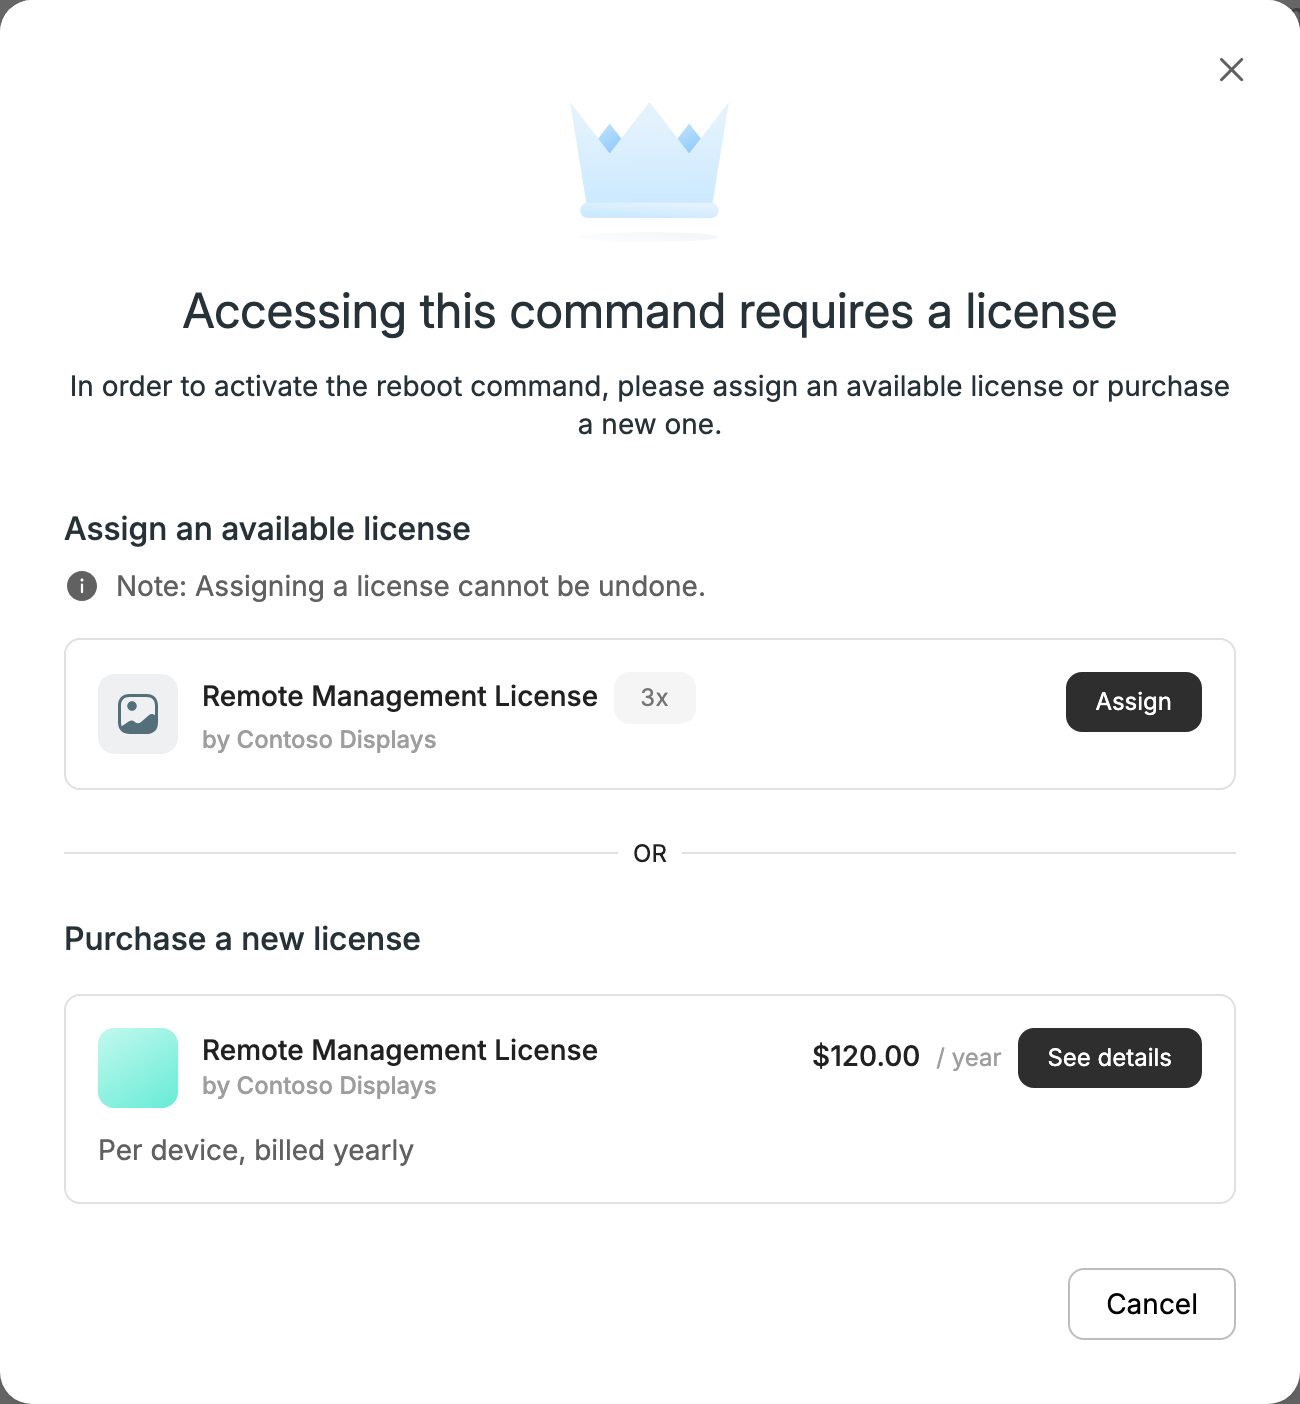
- From a command that needs one: when you run a command that requires a license, the portal shows Accessing this command requires a license. Choose Assign an available license if you already own one, or Purchase a new license to go to the product in the Store.
Assign a license to a device
- Open the device and go to its Licenses tab.
- Click Assign new license.
- Pick one of your available licenses, or choose Assign license with a code if you got a license code.
Assigning a license can't be undone.
All your licenses are listed under Purchases → Purchased Products → Licenses.
A warranty is always bought for a specific device, from that device's page. Warranty products in the Store say Added from a device and link to Go to your devices.
Add a warranty to a device
- Open the device and go to its Warranty tab.
- Click Add warranty. You see Warranty added to cart.
- Complete checkout (see Buy a product).
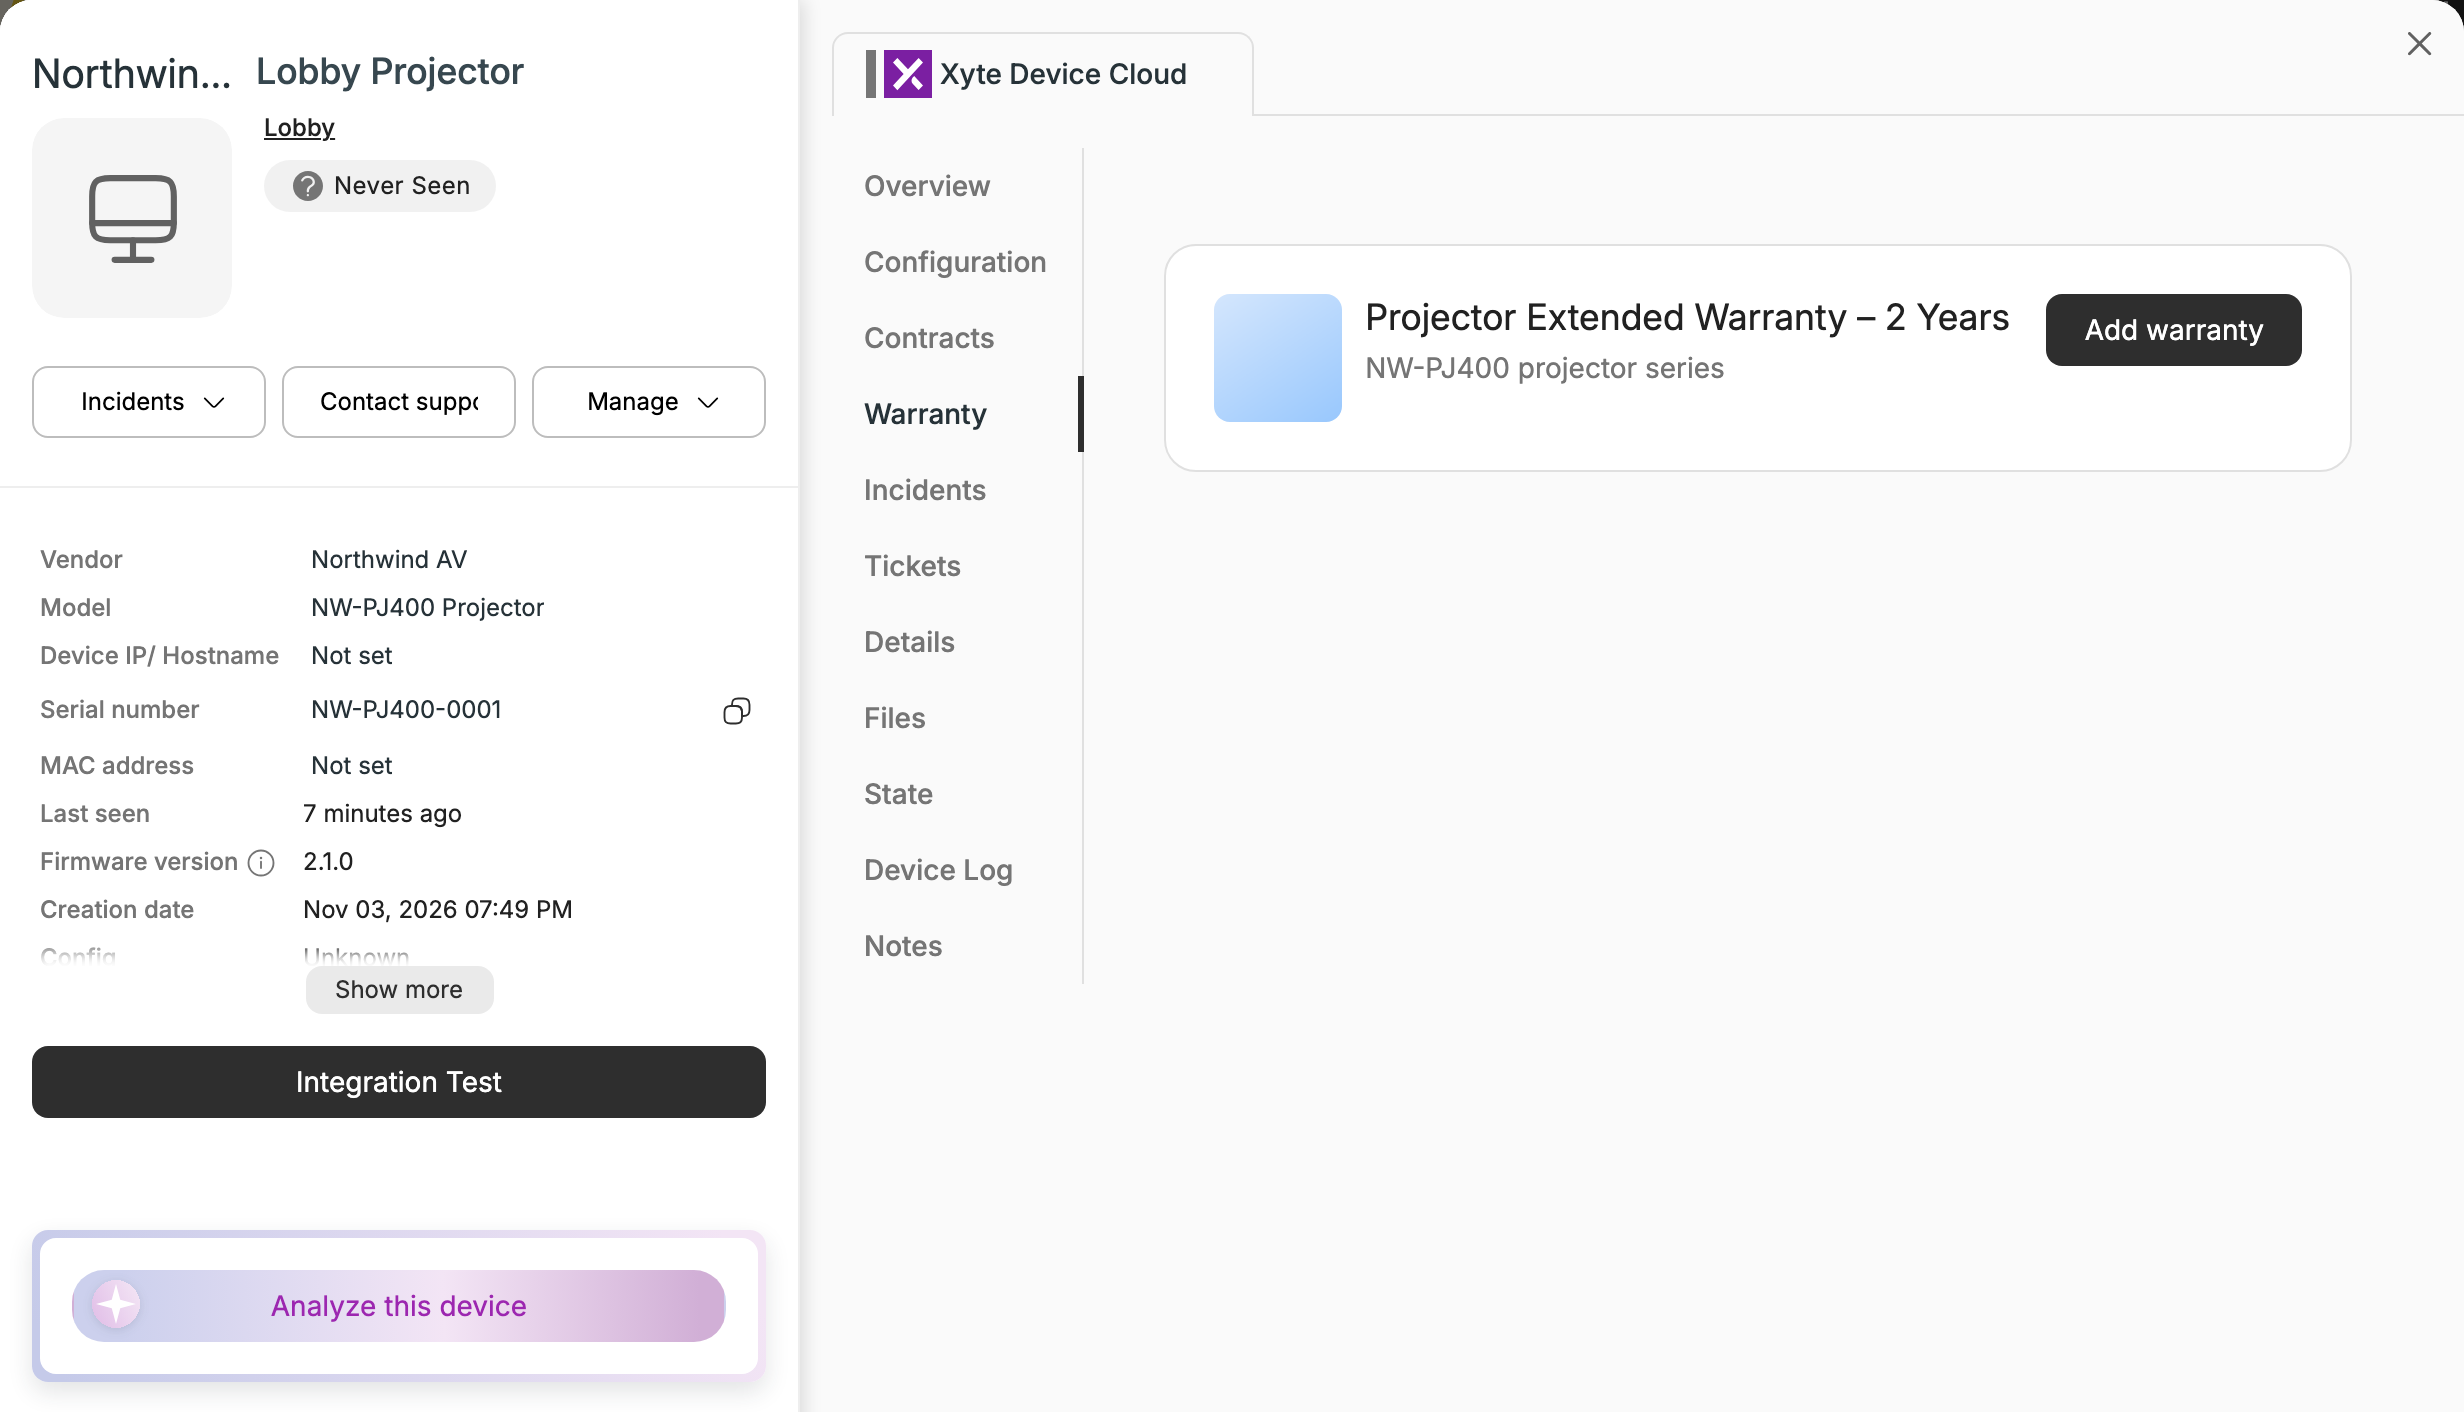
The Warranty tab offers a warranty only when the device is claimed, doesn't have a warranty yet, and its vendor sells a warranty for that model.
A device can have one warranty, ever, and a warranty can only be added from a device of the model it covers.
After the vendor approves the order, the warranty is applied to the device automatically. The Warranty tab then shows the warranty as Active, with the date under Warranty ends at. All warranties you bought are listed under Purchases → Purchased Products → Warranties.
To keep track of warranties and other agreements you didn't buy in the Store, upload them as Contracts.
Any product bought with a Monthly, Yearly or usage-based plan becomes a subscription. It renews automatically until you cancel it.
Your subscriptions are listed under Purchases → Subscriptions, in the Active, Suspended and Canceled tabs. See Subscriptions for the full list view.
Cancel a subscription
- Open the subscription and click Actions → Cancel subscription (administrators only).
- Some vendors ask for a reason first, in a short Subscription Cancellation Feedback form.
- Confirm with Cancel Subscription, or click Keep Subscription to change your mind.
A canceled Monthly or Yearly subscription keeps working until the end of the current billing period. Until then you can still Renew Subscription. A usage-based subscription stops right away.
The same Actions menu links to the vendor's Terms of Use, Privacy Policy and Cancellation & Returns Policy.
Not every vendor offers coupons. Administrators always see Coupons. Other users see it only once a coupon applies to your organization. If a code from your vendor doesn't work, contact [email protected].
If a vendor gave you a coupon code:
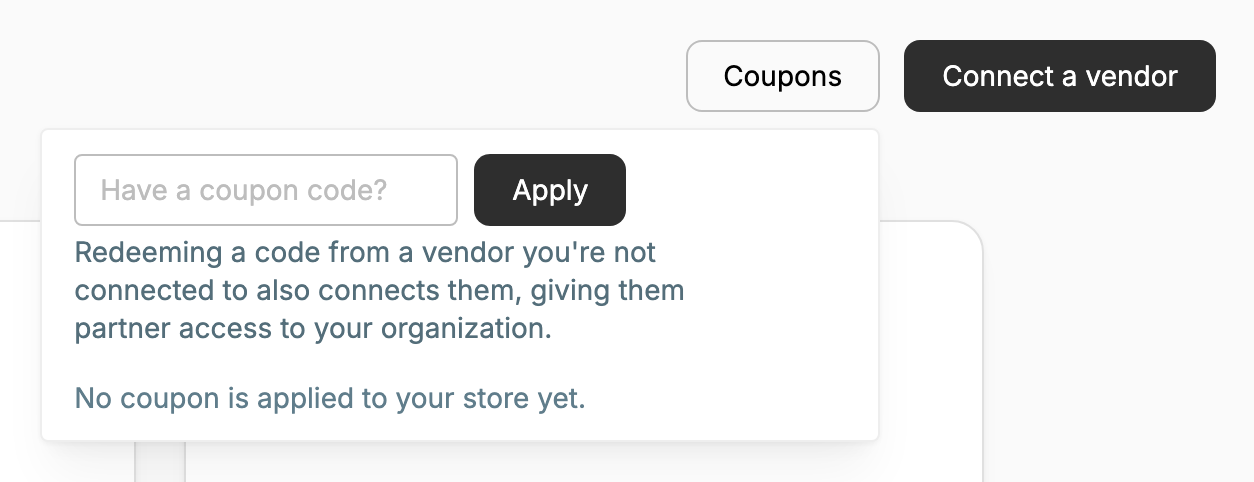
- Open that vendor's store and click Coupons. You can also go to Settings → Vendors → Coupons.
- Enter the code under Have a coupon code? and click Apply.
Only administrators can enter coupon codes. Your vendor may also apply coupons for you, and those are listed under Settings → Vendors → Coupons too.
When a coupon applies to a product, you see the original price crossed out next to the discounted price.
Everything you buy is under Marketplace → Purchases (see Purchases):
- Purchased Products: every item you bought, with tabs for Licenses, Physical Products and Warranties.
- Subscriptions: your monthly, yearly and usage-based plans.
- Active Orders: orders that are still in progress. Orders that need something from you are marked, for example Complete Information when the vendor needs more details after the purchase.
- Invoices: available to users who can view finance information.
Physical products move through these statuses: Order placed → Processing → Shipment ready → Shipped → Delivered. The vendor adds the tracking number when it ships.
Updated 6 days ago