
Add a group to a tenant
How to add a group to a company.
To add a new group:
- Navigate to Settings -> Users & Groups.
- Select the Groups tab.
- Click Create Group.
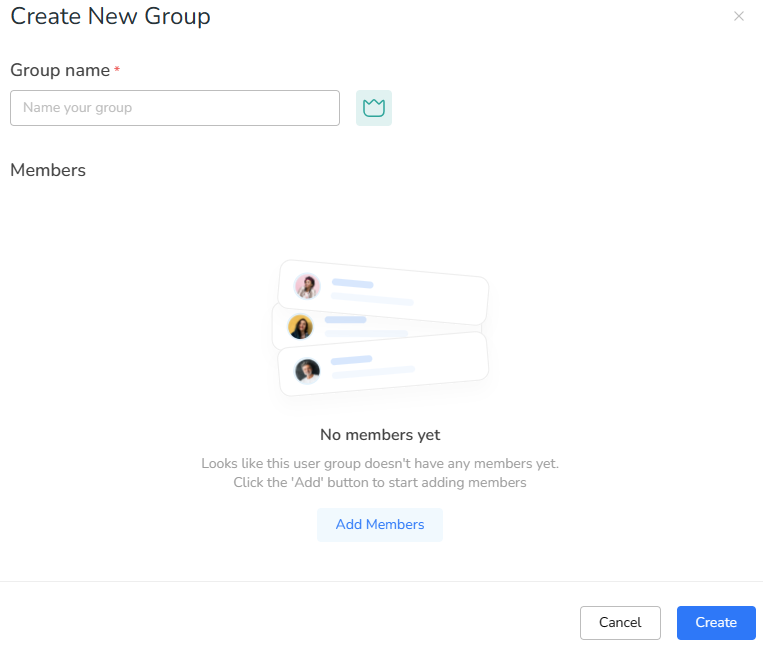
- Add an informative group name, and add members.
- Click Create.
You can add additional members to the group later, if necessary.
A new group has no access yetCreating a group and adding members to it does not give those members any access to spaces or devices. A group is a list of people — the permission is created separately, when the group is given an access level on a space.
Next step: give the group access to a space
- Go to Overview and select the customer, space or room the group should cover.
- Click the ellipsis (...) and select Settings.
- Choose Access, open the Groups tab and click Add Group.
- Select the group and choose its access level — View, Edit or Admin.
The same group can hold a different level on different spaces, for example Edit on one site and View on another. Access granted on a space also applies to every device in it and every space beneath it.
Keep in mind that a user's effective access is the highest level they hold from anywhere, so a member of this group may still have Edit or Admin from another group. See Grant a group access to a space for the full flow, Access Management for the access model, and the Users & Groups FAQ if a view-only user can still make changes.
Updated about 2 months ago