2. Create a new customer and space
Navigate to Organization Overview
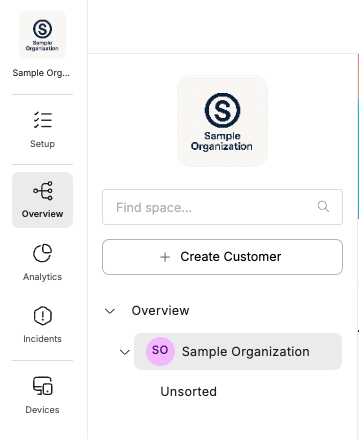
Navigate to the Overview section of the Control Center, via the left-hand navigation.
- If you just signed in, this will be the screen you’ll land on.
- The Navigation documentation goes into more detail about the sections of the portal and how to navigate them.
Create a new customer
Customers are a way to divide the devices, locations and assets managed by your Organization into multiple sub-accounts - Customers.
Each Customer has their own tree of spaces, devices and assets and movement between customer trees is not allowed. This feature is recommended for any integrators, service providers (or similar) who might provide monitoring and control to multiple distinct customers.
When creating your Organization an initial Customer is automatically created with the same name. More customers can be added (if needed) by clicking the "Create Customer" button.
Create a new space
The Spaces section is a tree structure that shows the virtual configuration that reflects your company’s physical setup. The spaces are used to group managed devices in a tree structure.
To add a new space, hover over an existing one, click the "..." and select "Add new space" in the drop down menu.
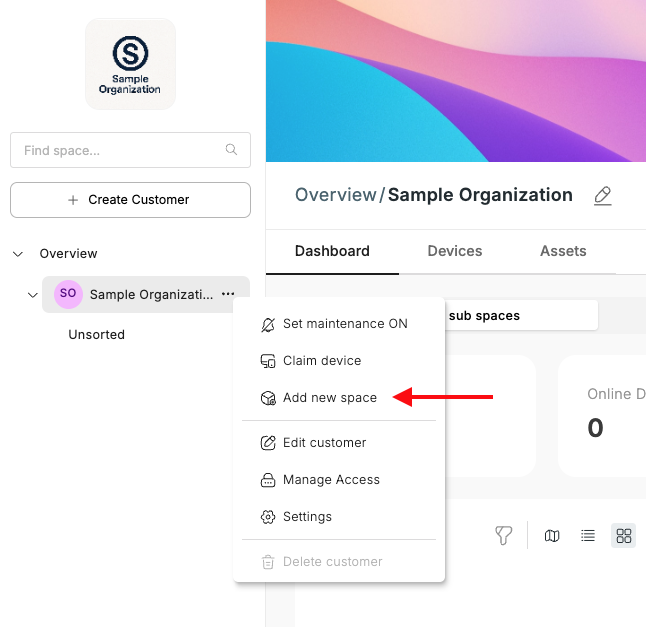
Follow the Add and manage spaces guide for more information managing spaces.
Go ahead and play around with the spaces you just created.
Be aware!Do not delete or move any spaces that were already created for your company as this will impact all other users in your company.
Updated 9 months ago