
Space Access Management
Overview
Space-level access management lets administrators give Users granular control over their managed Customers. Access set on a space applies to the space itself, all devices within it, and — through inheritance — every space beneath it.
For the access levels themselves (View / Edit / Admin), tenant-wide access, and how the two combine, see Access Management.
Managing Access
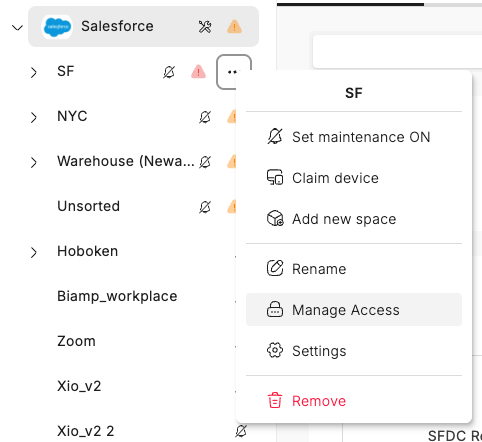
- Visit "Overview" and select any Space
- Hover over the Space, click "..." and select "Manage Access" or click the "..." on the top right.
Users Access
This view contains all the Users granted explicit access to this Space
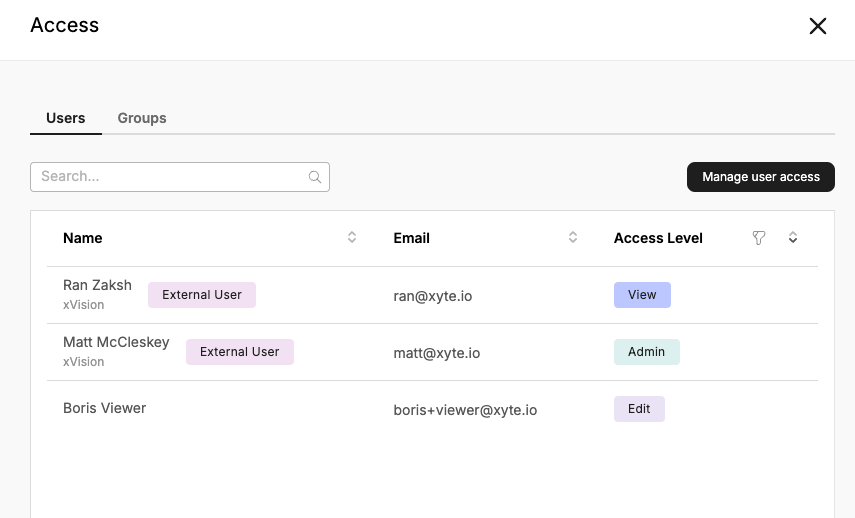
Global Viewers and Global Administrators are not listed here but have access to all Spaces in the tenant.
Adding Users
Click the "Manage user access" button on the top right
Adding Internal Users
-
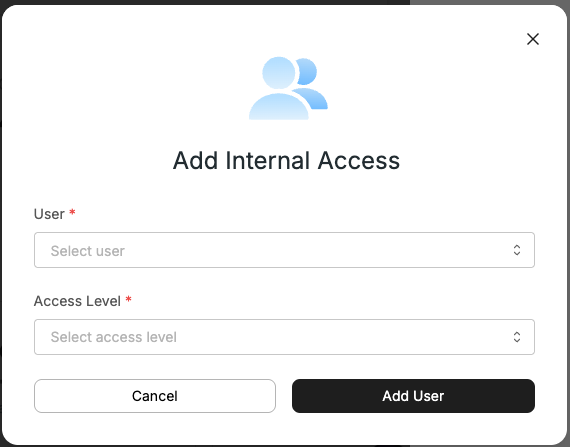
Select if to add "Internal Users" to add a User created in the current tenant
-
Select the User from the list of the tenant's Users
-
Select the Access Level
-
Click "Add User"
Adding External Support Users
-
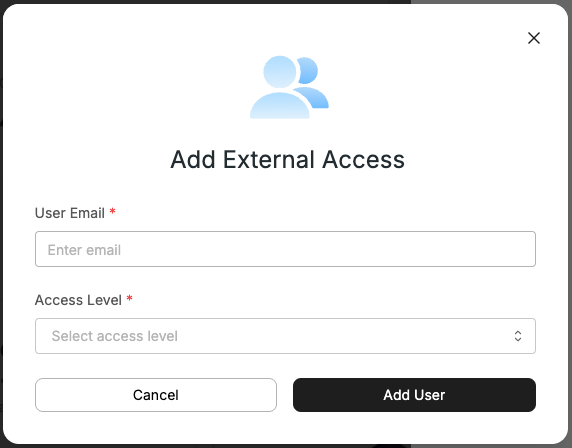
Select "External Support" to invite a special support User that does not belong to the current tenant.
-
Provide the email of the User to invite
-
Select the Access Level
-
Click "Add User"
Removing Users
- Hover over the User to remove in the list
- Click the "..." options button
- Click "Remove"
Group Access
This view contains all the Groups granted explicit access to this Space
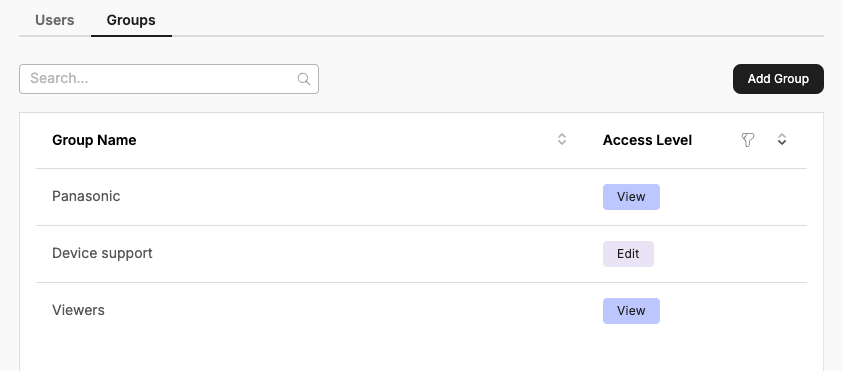
Adding Groups
Similar flow to the User flow.
To add an External Support Group, contact the owner to provide you with their unique Group ID.
Example: giving a customer's team view-only access to one room
A common setup: an end customer should see their own room, and nothing else, with no ability to change anything. It takes two steps, in two different places — and missing the second one is the usual reason a "view-only" user can still make changes.
1. Create the group — Settings → Users & Groups → Groups → Create Group. Name it after the customer, for example Acme IT, and add their users. At this point the group grants nothing; it is only a list of people.
2. Grant the group access on the room — open the room in Overview, then Settings → Access → Groups → Add Group, select Acme IT and choose View. This is where the permission is actually created.
Then confirm nothing else raises them. Effective access is the highest level a user holds from anywhere, so check that each member is:
- not in the administrators group — global administrators have full access everywhere, and it cannot be reduced on a space
- not in the default Device support group, which is created with Edit on the root space and inherited by everything below it
- not granted Edit or Admin directly on that room, or on any space above it
Test with one of the customer's own accounts. Testing with an administrator's login will always show edit rights, whatever the room is set to.
Updated about 1 month ago